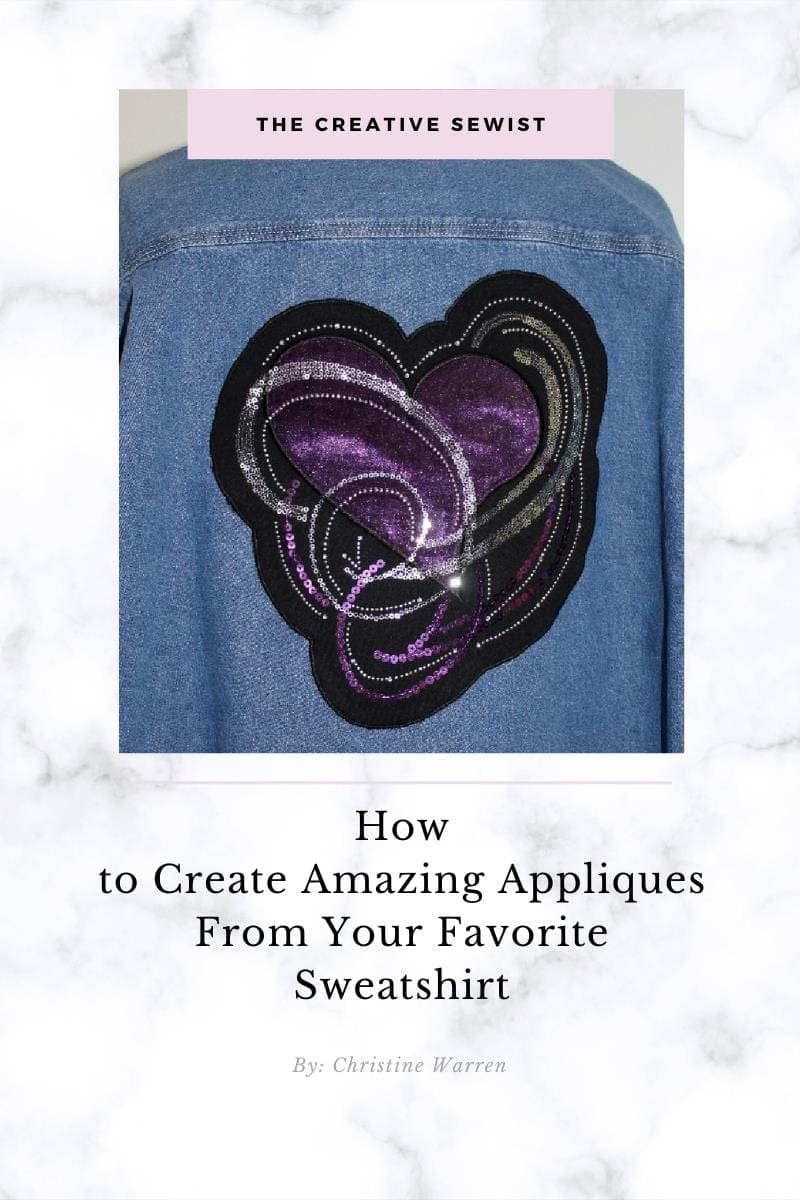
Applique Sewing Tutorial for Beginners – 4 Simple & Easy Steps
A simple & easy applique sewing tutorial for beginners in 4 steps
It’s easy to achieve excellent sewing results when undertaking an applique sewing project if you follow 4 simple and easy steps as demonstrated in this applique sewing tutorial.
Tools & Materials Needed for Applique Sewing
- Sewing Project Fabric (preferably cotton)
- Fusible Web product (see below)
- Tearaway stabilizer (see below)
- Permanent Sharpie ink marker for tracing appliques (use the finest point possible)
- Washable marking pen or tailor’s chalk
- Applique scissors or sharp dressmaker’s shears
- Iron with steam function
- Decorative thread
- Bobbin thread
- Open toe presser foot (sometimes called an Applique Foot)
- Embroidery sewing machine needle
Project Prep for Applique Sewing
Gather and organize all the fabrics you will be using in your project. Make sure you have enough of all materials to complete your sewing project. If you do not have enough of any particular material, now is the time to get more or swap out a particular fabric.
Press ALL fabrics flat. This includes your base fabric and applique fabrics. Remove as many wrinkles as possible. Take note of any blemishes or flaws in ALL fabrics. If necessary, use tailor’s chalk or a washable marking pen to highlight the flaws. This way, you can avoid them when laying out your applique pieces. Avoid accidentally cutting applique pieces with stains or flaws.
Step 1: Trace applique sewing pieces onto a double stick fusible web product
When sewing applique pieces, you will need to first trace each applique piece onto a fusible web product.

There are several good ones on the market. Here’s a list of a few that are readily available at most sewing centers and online sewing retailers:
- Steam-a-seam2
- Wonder Under
- Sulky Perfect Applique Fusible Web
- OESD SoftWeb Fusible web stabilizer
All 4 are excellent products and work in the same manner. NOTE: The sample shown in this tutorial was created using Steam-a-seam2.

If your applique has a direction, you will need to trace your pattern pieces in reverse on the fusible web with your PERMANENT SHARPIE marker. For example, if tracing a letter ‘B’, you will need to trace it so that the ‘B’ faces to the left-not the right. Check the direction from the front before cutting out your pieces. If you find that a piece is facing in the wrong direction, carefully remove your fusible web and flip it in the correct direction.


Once you have your pattern pieces traced and cut out, it’s time to position them on your base fabric. Remove the paper from the fusible web and place them on your base fabric. FINGER press them in place until you are certain they are positioned correctly.

Once everything is in the correct place, it’s time to press the applique sewing pieces with the iron. This will permanently fuse them to the base fabric. Follow the fusible web manufacturer’s instructions. Some fusibles require a pressing cloth, other’s do not. It is extremely important to follow the pressing instructions. If the product calls for a 30 second press, make sure you do so. This will ensure that the fusible adheres to the base fabric.

Step 2: Applying the Fabric Stabilizers to Your Applique Sewing Project
The key to a successful applique sewing project is to properly stabilize your project. I’ve sewn hundreds of appliques (possibly thousands) and my best sewing results are from proper stabilizers and machine tension settings.
Since most applique is applied to cotton fabrics, you can begin by applying 1-2 layers of an iron on stabilizer like Sulky’s Totally Stable to the back of your base fabric.


Next, cut 1 layer of Pellon Stitch-n-Tear 806. This stabilizer will float underneath the iron-on stabilizer and provide additional stability while sewing. If your Stitch-n-Tear is wrinkled, you can lightly press it to remove the wrinkles.
NOTE: I do not recommend using a medium/heavy weight cutaway stabilizer for applique projects. It can sometimes be too stiff, esp. if you are planning to quilt your project. It’s important to use ‘just enough’ stabilizer for your applique project and have a clean back. This means all excess stabilizer must be removed after all sewing is finished and cut aways can sometimes be difficult to remove.
Step 3: Sewing Your Appliques in Place

Before starting to sew, set up your machine. Thread it with your first decorative thread and a full bobbin of a suitable bobbin thread like Sulky’s Bobbin thread for decorative stitching.
Select a zig zag stitch. Set both your stitch length and width to “0.”
Make a mental note that every time you begin and end a row of satin stitching, you will start at “0” and take 3-4 stitches. This locks your sewing and prevents the thread from easily pulling out.
When sewing applique, your stitch length should fall within a 0.25mm-1.0mm range. Your stitch width should stay within a range of 1.0 – 3.5mm. Most satin stitches are sewn out with a stitch length of 0.30- 0.35mm and a stitch width in the 2.5- 3.5mm range. Just realize that the wider the stitch width, you may see puckering. If you do see it, stop sewing, carefully remove the puckered stitches, and resew with a narrower satin stitch width.
If you opt for a wider stitch, add an extra layer of tear away stabilizer on the wrong side. This will help to offset the puckering.
You can certainly adjust the stitch length and width as desired. Most sewists will use a few different settings on an applique sewing project depending on the size of the applique piece. As a general rule, they will use one setting for small pieces, another for medium sizes, and yet an even bigger setting for the largest applique pieces. It’s best to use no more than 3 different stitch widths on a smaller project. This will give your project a clean, uniform look.
Also, check your thread tension before you begin sewing your appliques. Start at the default setting. If you need to adjust it, make small changes until you achieve an optimal result. If the tension is too tight, you can get puckering on the underside. If the tension is too loose, the bobbin thread will pull to the front of your applique fabric. The ideal tension should have a very small amount of decorative thread on the underside.

Once you have the decided on your thread length, width, and correct tensions, begin sewing your appliques. Your stitching should slightly ‘step’ off the applique onto your base fabric. Too much satin stitching on the base fabric can cause an odd puckering effect around the appliques.
When you reach a turning point, you want to have the needle in the down position on the inside-not the outside. This way, you can lift the presser foot and adjust the fabric position as necessary.

NOTE: When sewing, it’s important to guide the fabric under the needle, never pull or push it. That can cause puckering. Allow the machine to feed it thru as much as possible. You shouldn’t have to fight with your machine. When you pull it, you may notice ‘skipped’ stitches. When pushing it thru too quickly, some stitches may appear too ‘thick.’

Continue sewing until all appliques are sewn to your base fabric. Once completed, it’s time to remove the stabilizers!
Step 4: Removing the Stabilizers from the Back of Your Applique Sewing

Begin by CAREFULLY removing the tear away stabilizer. The easiest way to do this, is to place your finger along the edge of a seam and gently ‘tear’ the stabilizer away.

You never want to pull too hard. Once you have the tear away stabilizer removed, then carefully lift and tear the iron on stabilizer ONE LAYER AT A TIME.


You can leave stabilizers in very tiny areas. Just do your best to remove as much as possible. Once all the stabilizer is removed, carefully trim the thread tails from the front and back of your work. If sewn correctly, there should be no to very minimal puckering. You can give your applique a light pressing, if necessary. It’s best to press from the wrong side and use a pressing cloth.
Once completed, your applique sewing is finished!
If you enjoyed this sewing tutorial and would like to try more creative sewing techniques, check out THIS BLOG POST.
Hopefully this tutorial helped you. If so, please consider sharing it on social media and with your sewing friends. If you have a question, please leave it in the comments below.
Please note: This article does contain affiliate links.
We are a participant in the Amazon Services LLC Associates Program and its affiliate advertising programs which are designed to provide a means for us to earn fees by linking to Amazon.com and its affiliated sites.
There is no additional cost to you when you make a purchase through any of my affiliate links. Please consider supporting this blog.
CHRISTINE WARREN
Sewing isn’t just my job, it’s my passion. I’ve enjoyed sewing and needle working since I was very young.


