How To Easily Add An Elastic Waistband To A Dress
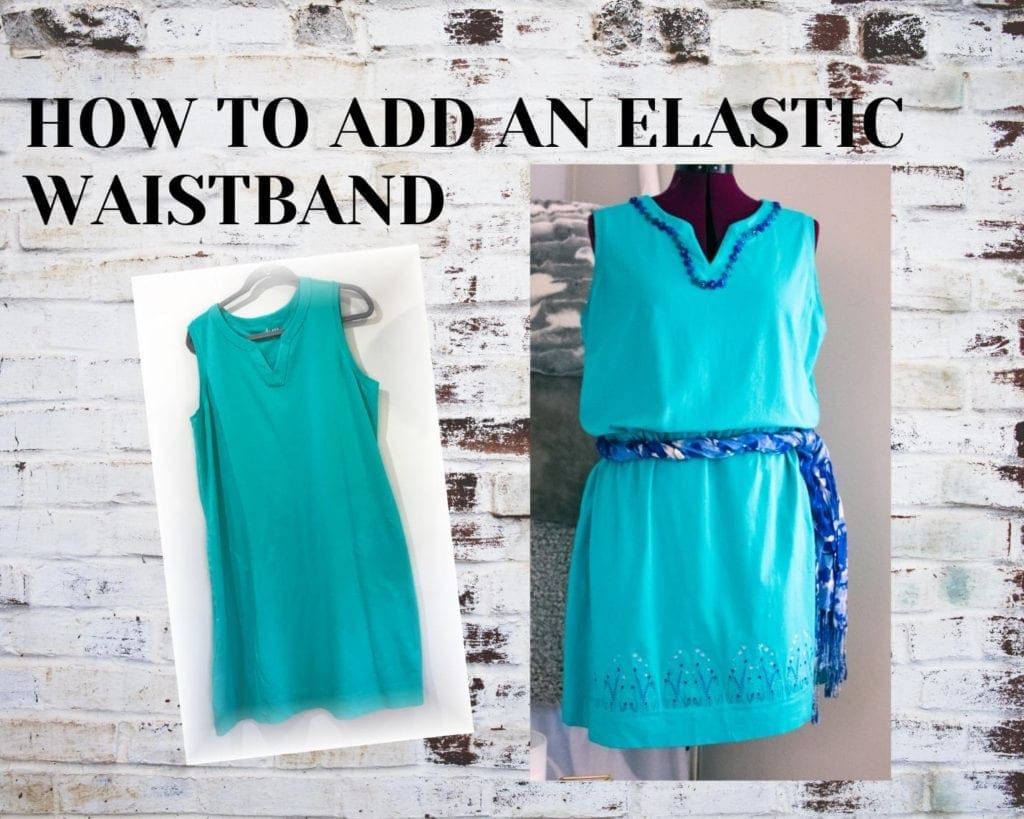
While oversized, flowing dresses are comfortable, they don’t flatter your curves and at times, you can seem lost in too much fabric. The easiest way to add definition is to define your waistline, but how do you do this with a dress that lacks structure and curves? Wear a belt? Maybe tie a scarf around your waist? Layer a short jacket over the dress that ends at your waistline? All are good options, but not permanent solutions. The easiest permanent, and very economical solution is to simply sew in an elastic waistband!
Whether you have a knee or maxi length dress, this technique will enable you to add waistline definition without sacrificing significant dress length and to transform your shopping mistakes into wardrobe staples.
You will need:
- piece of ¾” wide elastic that is the same measurement as your waistline (don’t worry if you buy extra—you can adjust your desired tightness or ease.)
- 1 piece of 1 ½” to 1 ¾”wide jersey knit fabric or t-shirt ribbed knit cuff fabric the length of your dress circumference + 3 inches (select a color close to the color of your dress)
- Utility sewing thread that is the same shade as your dress
- Sewing machine with a straight stitch and ¼” seam allowance
- Straight pins
- 2 Safety pins
- Washable marking pen or chalk
- Ruler
- Fusible Tricot Interfacing (Optional)
- Scissors
Step 1: Determine where you want the casing. The best way is to try on your dress, stand in front of a full-length mirror and identify the best placement for your waistline casing. Take note if the dress has pockets or any potential sewing hazards when deciding on your placement. You do not want to sew over any obstructions or ornamentation as they can damage the sewing machine. Depending on your garment, you may need to adjust the waistband casing slightly to avoid sewing pockets shut or hitting any attached ornamentation. Place a safety pin along one side of the dress to mark where the bottom of the casing should be and another safety pin approximately 1 -1 1/2” ABOVE the first pin. Close both safety pins. Take off the dress and turn it inside out. You now have an easy way to locate and mark the placement of your casing and take note of any pockets or interior structural issues.
The sample dress used in this tutorial had a below the knee length and side pockets. I determined that the waistline was approximately 19 inches from the bottom of the hem.
Step 2: Turn dress inside out and mark the BOTTOM seam of the new casing—Front and back with a WASHABLE marker or chalk.
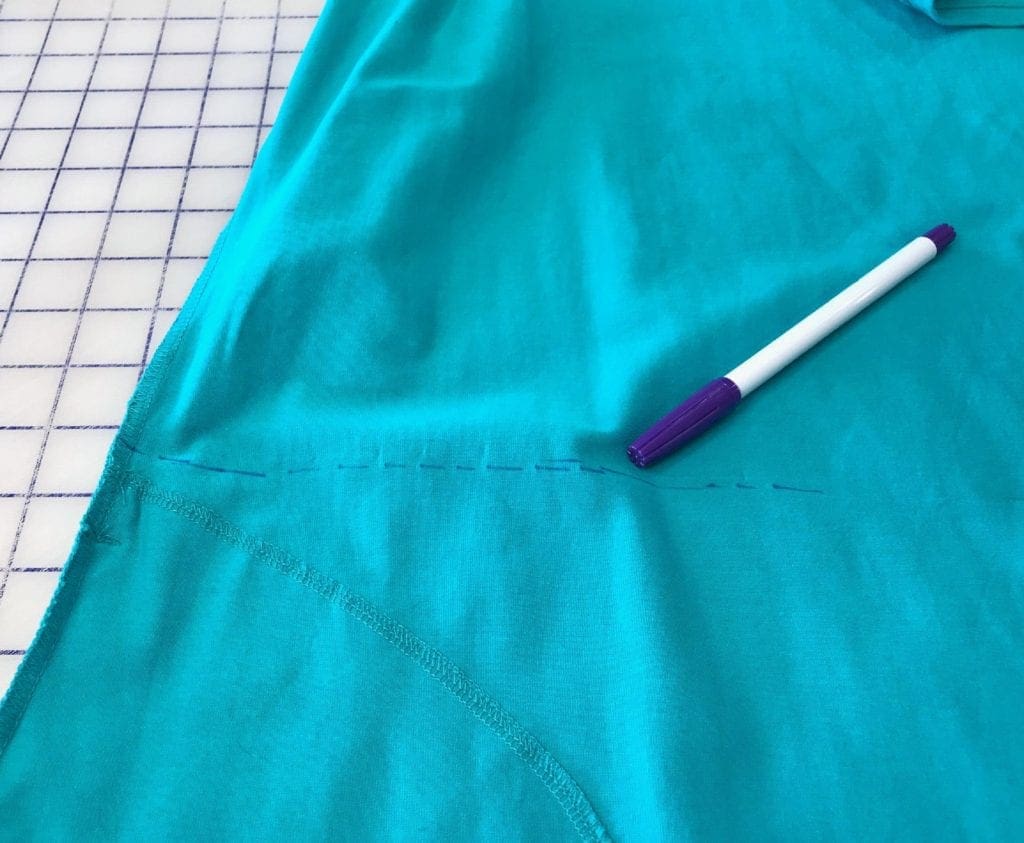
Photo of the FRONT of the dress—Marked
Step 3: Lay dress flat and measure this line. Once you have the number multiply it by 2 and add an extra 3 inches. (I.e. If front measures 23 inches, multiply it by 2 and add 3 inches. Total=49 inches)
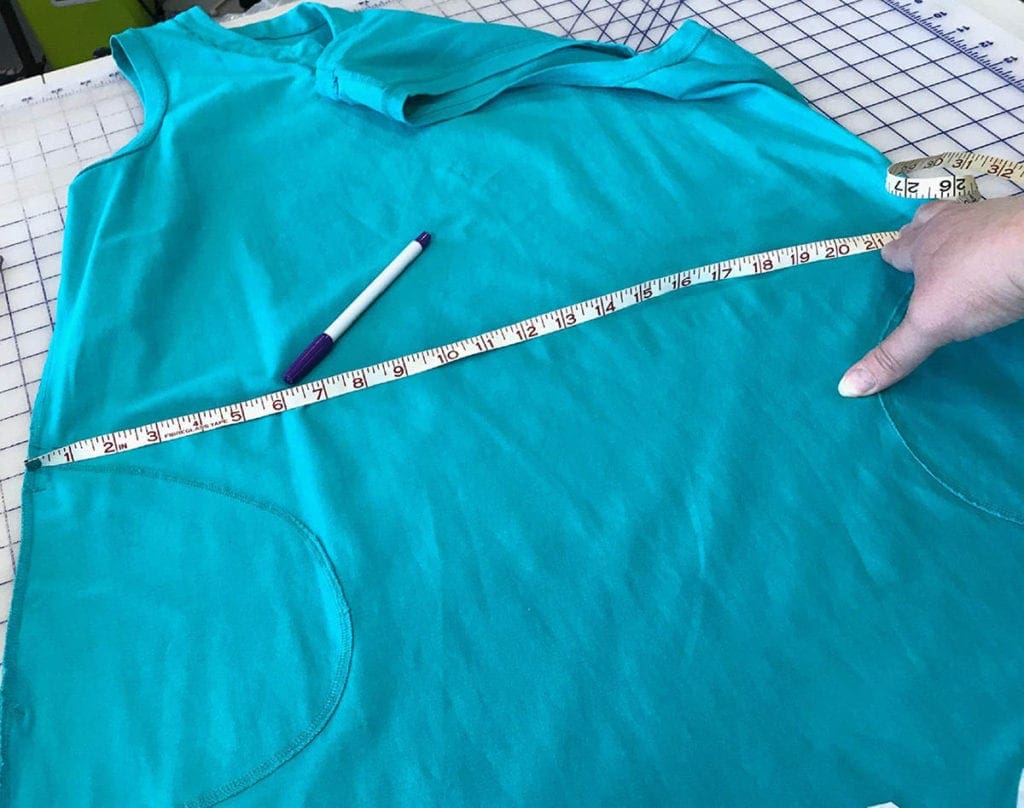
Step 4: Cut a piece of either jersey knit OR ribbed knit fabric that is 1 ½” wide and the length of the circumference you determined in Step 3.
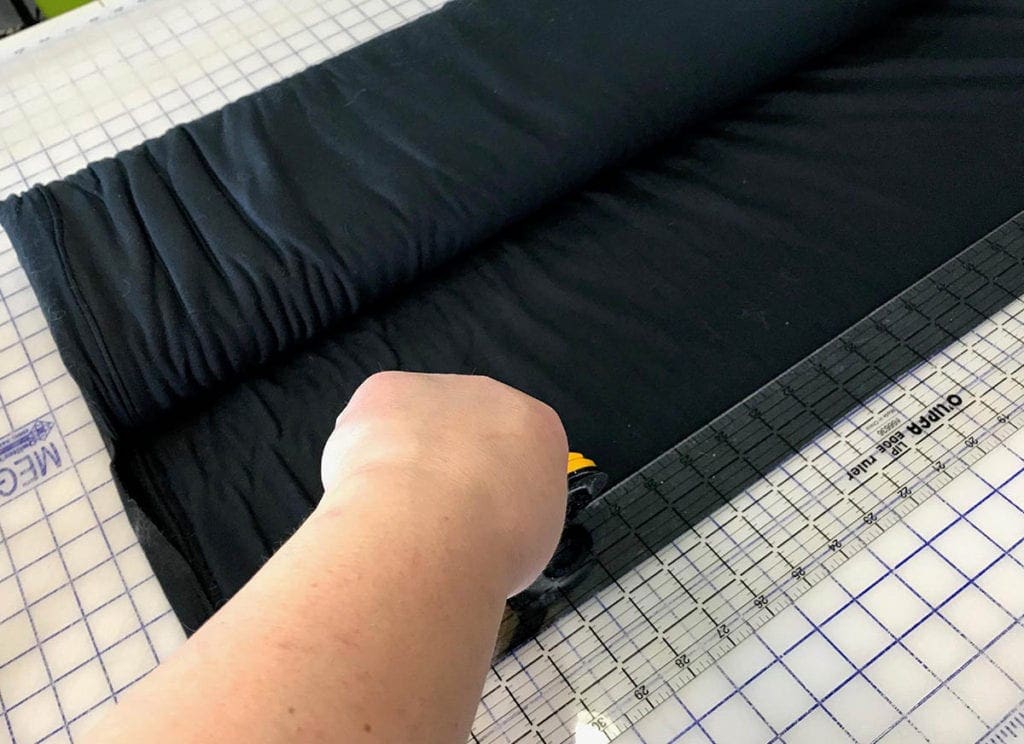
OPTIONAL STEP: If you will be wearing the dress frequently, consider fusing a tricot knit stabilizer to the WRONG side of the casing fabric.
Step 5: Lay casing RIGHT side down on ironing board and fold one edge of the casing over by ¼ – 3/8”. Place a pin and press. Once fabric cools, remove pin.
Step 6: Open dress that is still inside out and slide it over the ironing board. Pin the RIGHT side of the casing fabric to the WRONG side of your dress. Position and pin the casing fabric as show below. Be careful to NOT pin your dress and casing to the ironing board. ( See diagram below)
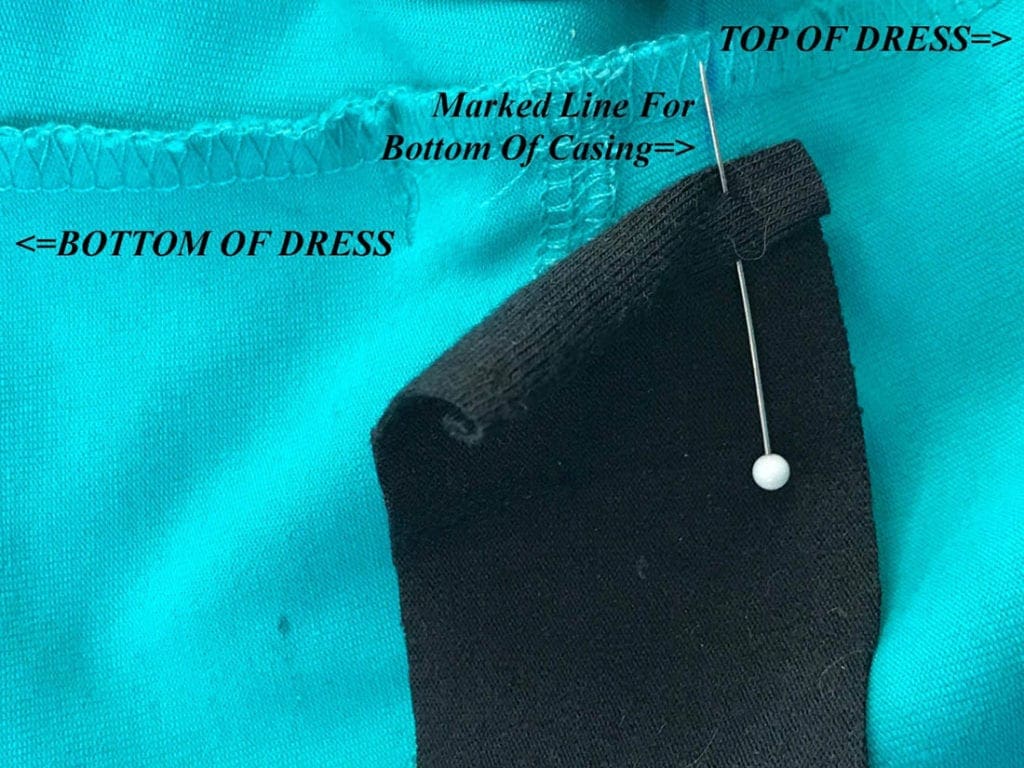
STEP 7:
Once everything is pinned, it is time to sew the fabric to the dress. If you have a ¼” seam allowance foot, attach it to the machine. If you do not have one, determine where the 1/4” seam allowance marking is on the throat plate and place a piece of scotch tape beside it. (This will be your guide.)
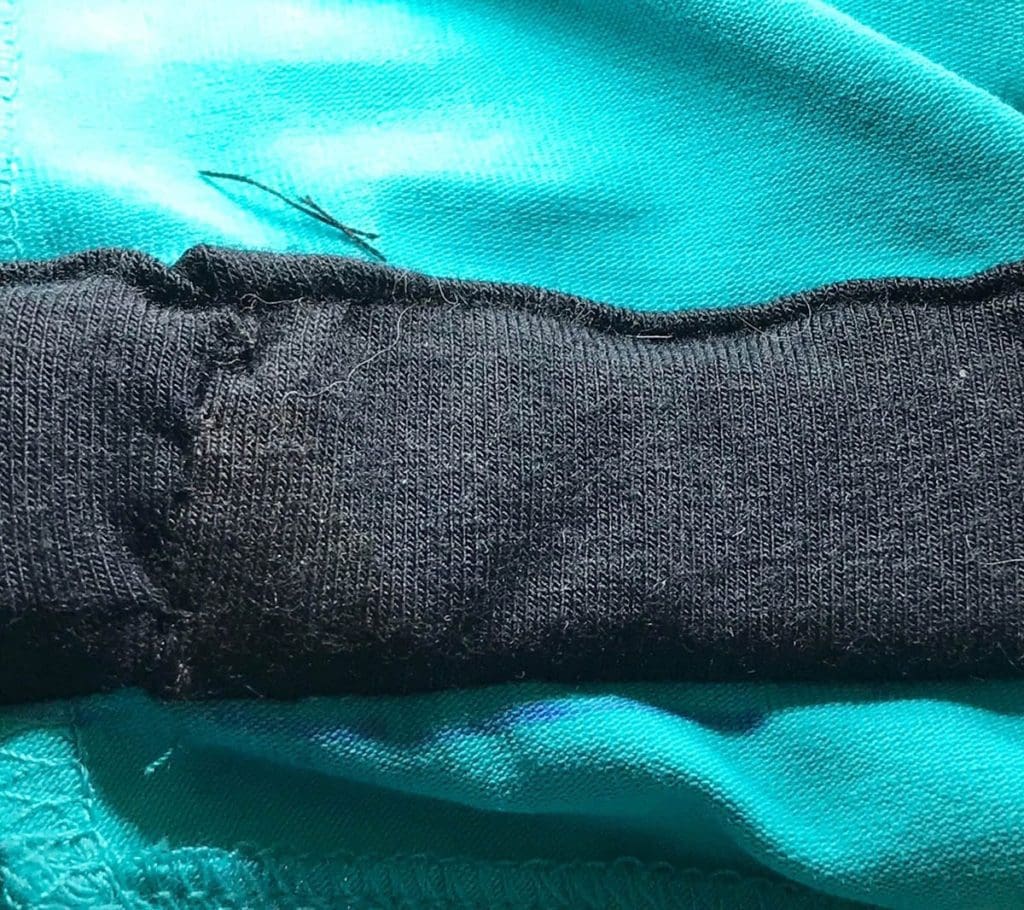
Feed the dress thru the arm of the machine and position your dress (make sure to only sew the casing to 1 dress layer). Using a straight stitch seam, sew casing to dress. As you approach the end of your seam, you will have extra casing fabric. Allow the casing to OVERLAP itself by approximately ¾”. Finish sewing the casing and trim excess casing fabric. Trim thread and return to your ironing board.
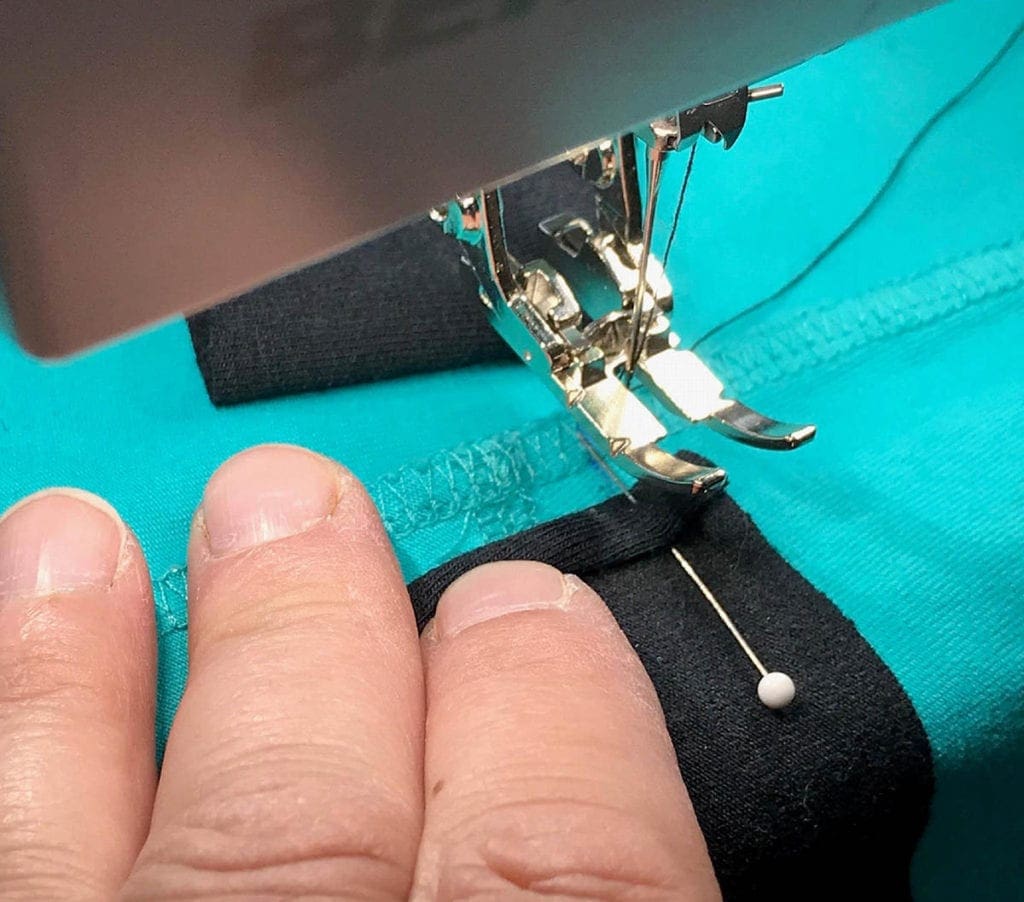
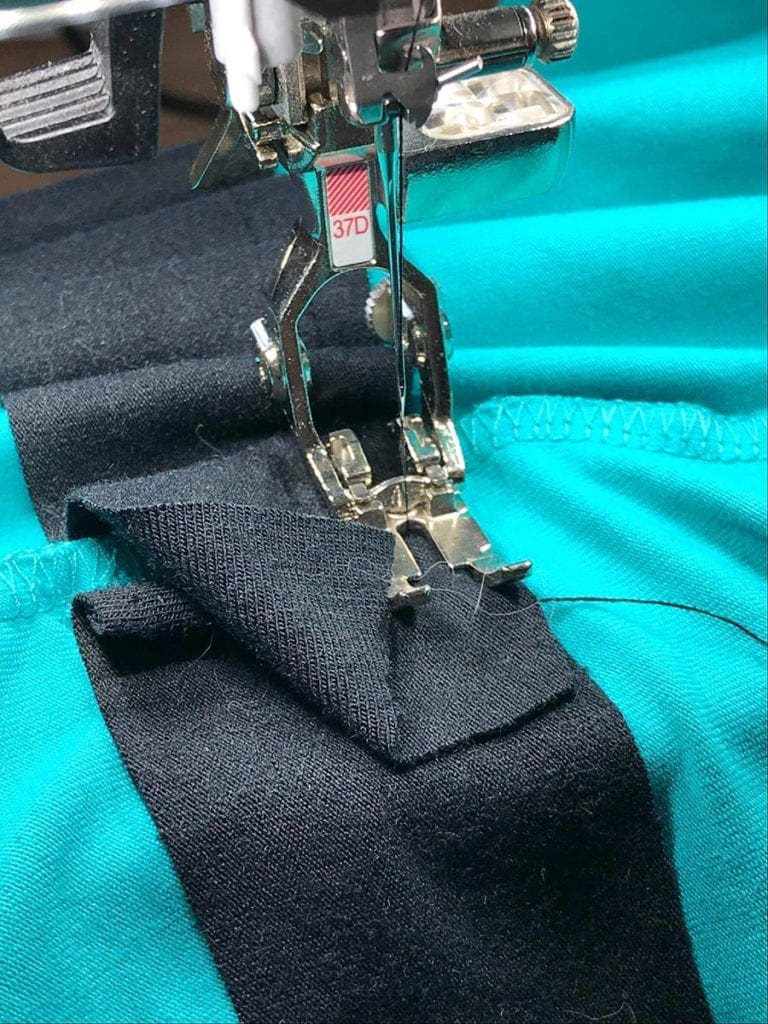
STEP 8: Flip casing and PRESS toward top of dress. Your first line of stitching will be encased. No stitching will be visible.
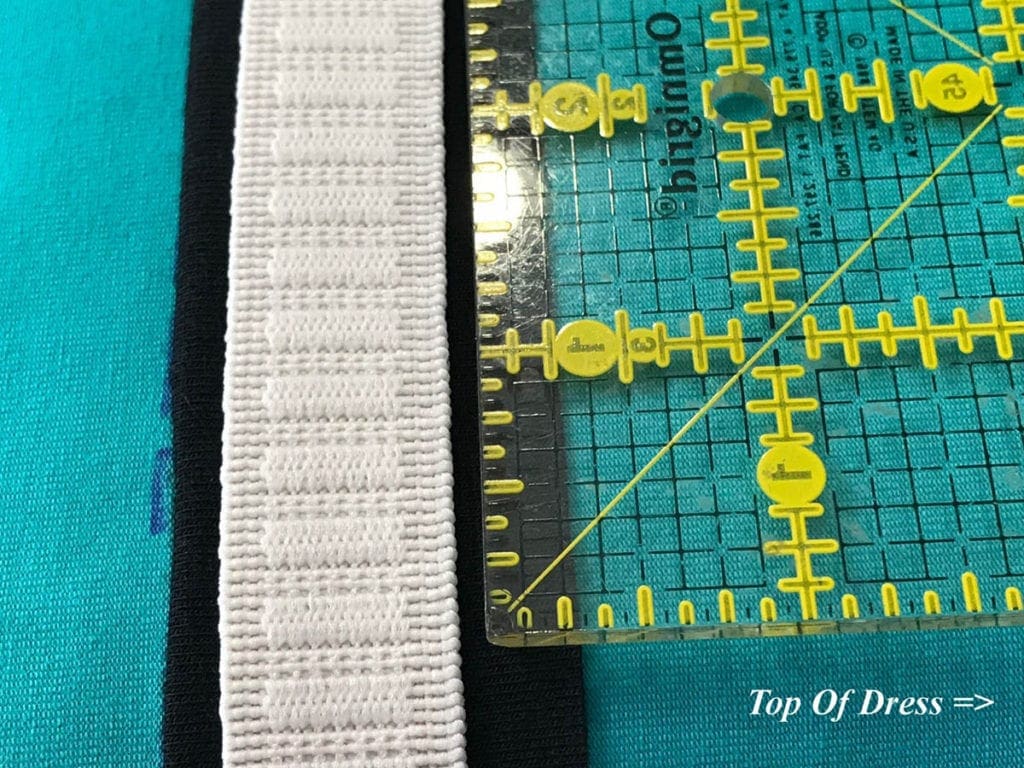
STEP 9: Lay your elastic on top of the casing. Make a note of the elastic width and the amount of casing fabric that extends beyond the elastic. For the sample, I used ¾” wide elastic and pinned my casing under ¼” If you pin a slightly wider seam allowance, just ensure that your elastic will slide thru easily.
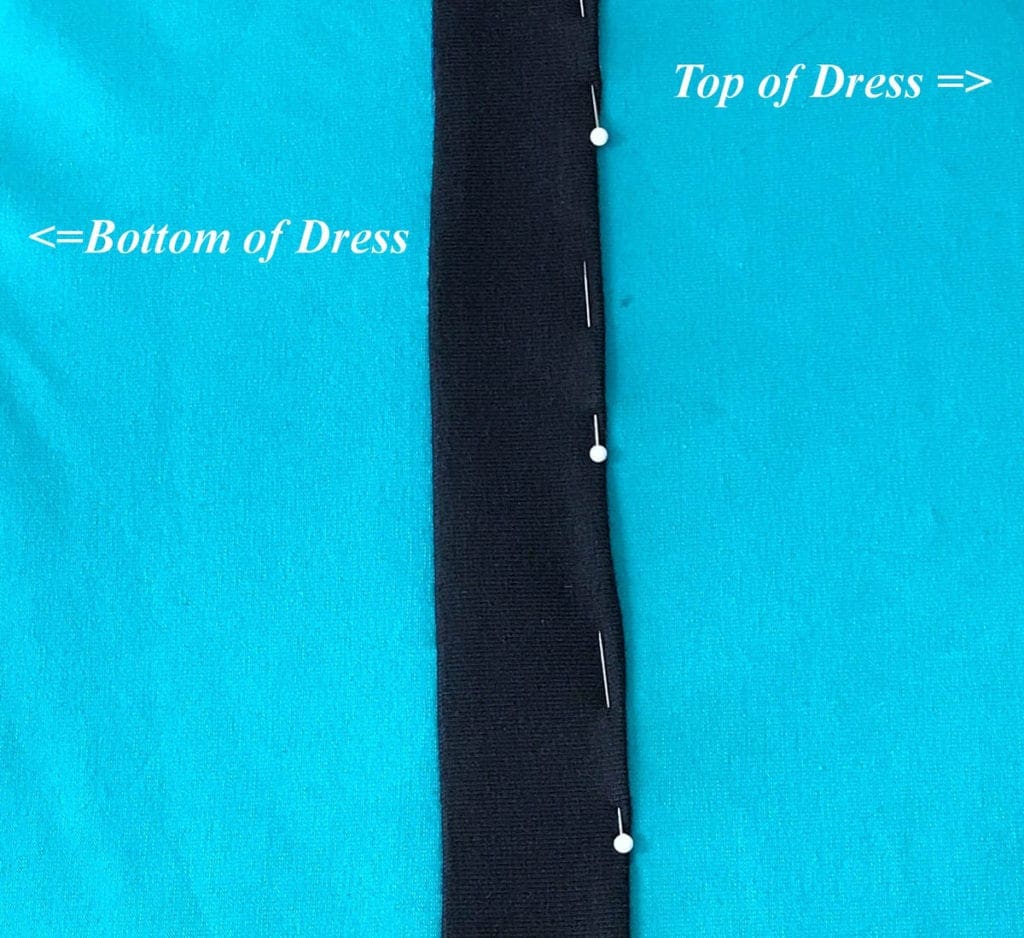
Step 10:
Before returning to the sewing machine, give your pinning a quick pressing on a medium heat. Once you’ve finished pressing, return to the sewing machine. Feed dress thru machine arm and position the needle as close to the fold as possible. Ideally, you will be 1/8” from edge. Sew top seam. Make sure to add a locking backstitch. Trim threads and remove dress from machine.
Step 11:
Once the seam is sewn, it’s time to thread the elastic thru the casing. Pick up the elastic and place a safety pin in ONE end. Close pin. This end will be threaded thru the casing.
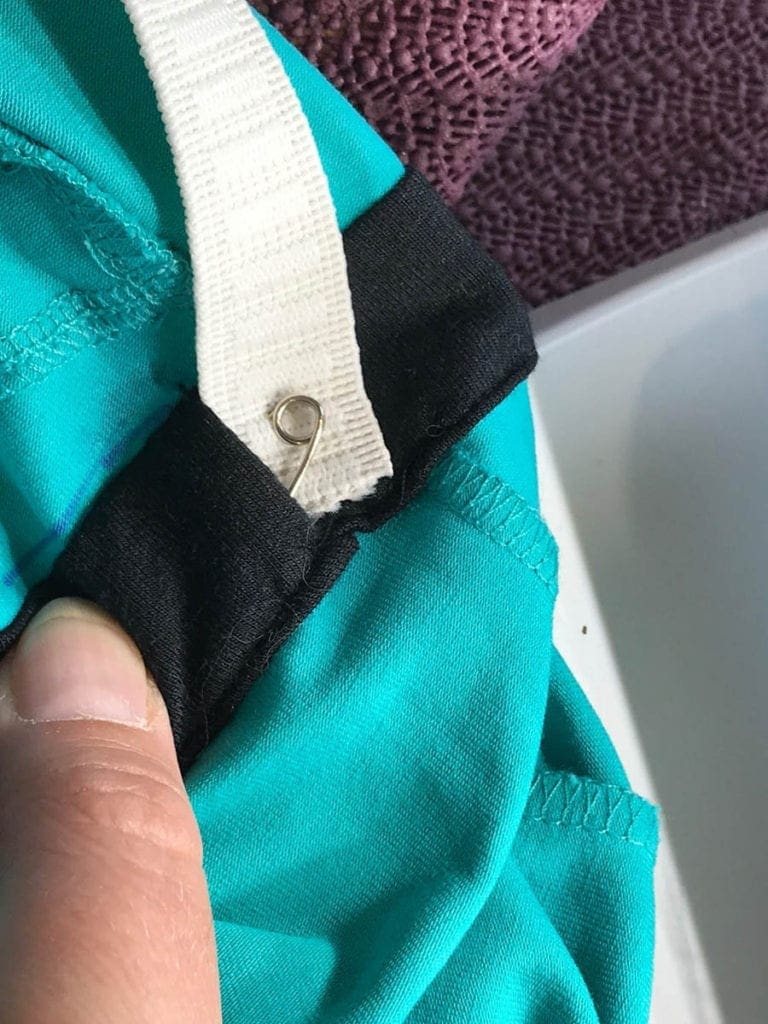
After you have threaded the elastic thru the entire casing, you will return to the beginning. It will take a little effort to move the casing fabric at the seam, but carefully pull elastic out of the casing. If you have not adjusted the elastic during the threading process, adjust it now until you achieve the desired tightness. If necessary, slip the dress on INSIDE OUT and adjust the elastic. Check your elastic along the length of the casing to make sure that it has not twisted inside. If it has twisted, manipulate it until it is laying flat. Using your safety pin, pin the elastic together where you will sew your elastic seam.
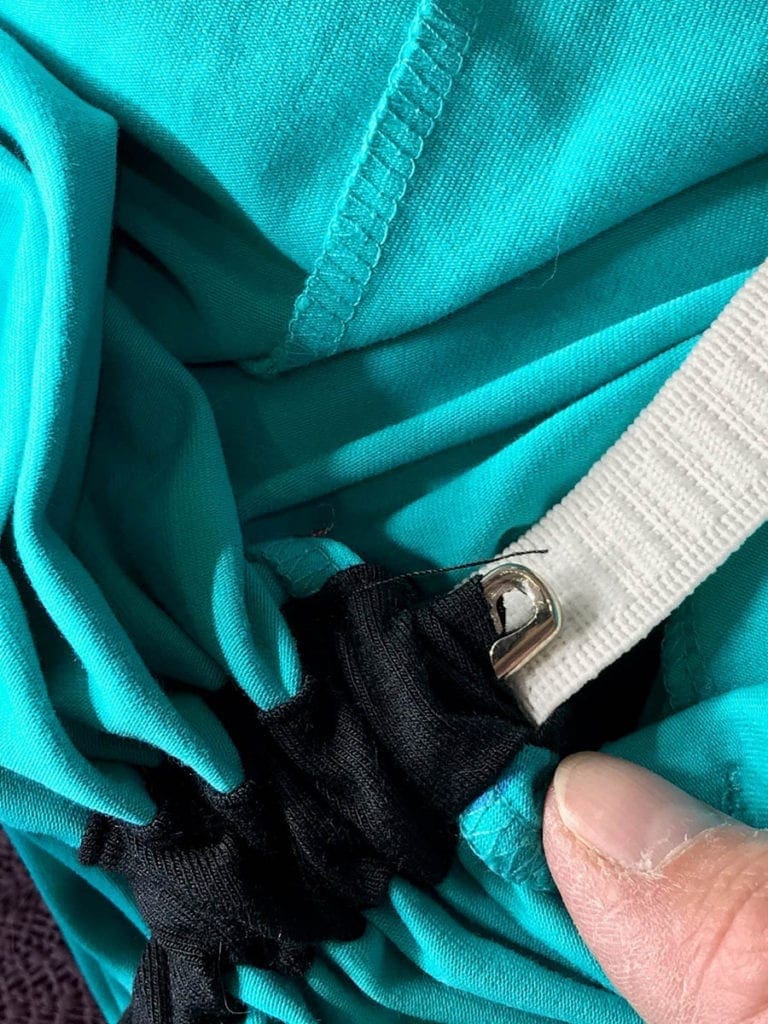
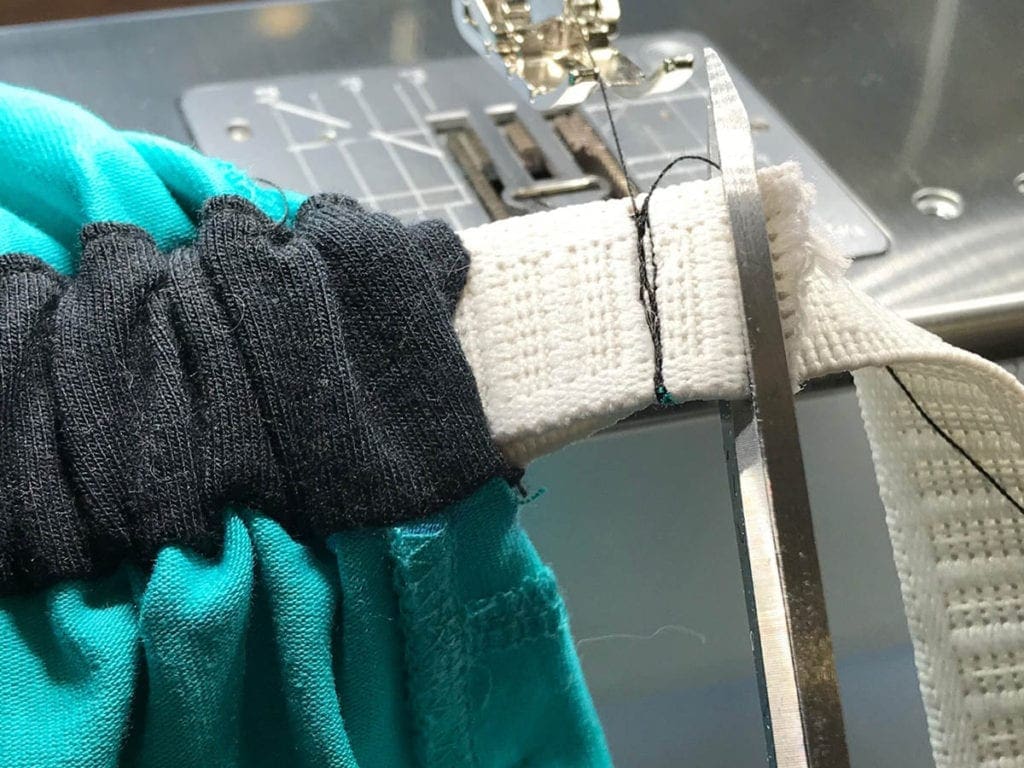
Step 12: At the sewing machine, position both ends of the elastic under the sewing needle where you have placed your safety pin. Once you have the elastic in position, remove the safety pin and sew a straight stitched seam. Sew it 3 or 4 times before sewing a backstitch and trimming the threads. NOTE: If you are an experienced sewist, you can lay your sewing ends over one another before sewing the seam.
After sewing the elastic, trim the extra elastic with a sharp pair of scissors. Leave only ¼” extra.
Step 13:
Stretch the dress casing and allow the elastic to fall into the casing. Smooth out the fabric at the opening. You may need to insert your finger into the hole to adjust the inside fabric. Once you have the fabric smooth, you can either hand-stitch the opening closed or leave as-is.
Step 14: Hand-stitch the opening closed. After completing this, you are finished! Turn dress right side out and enjoy!
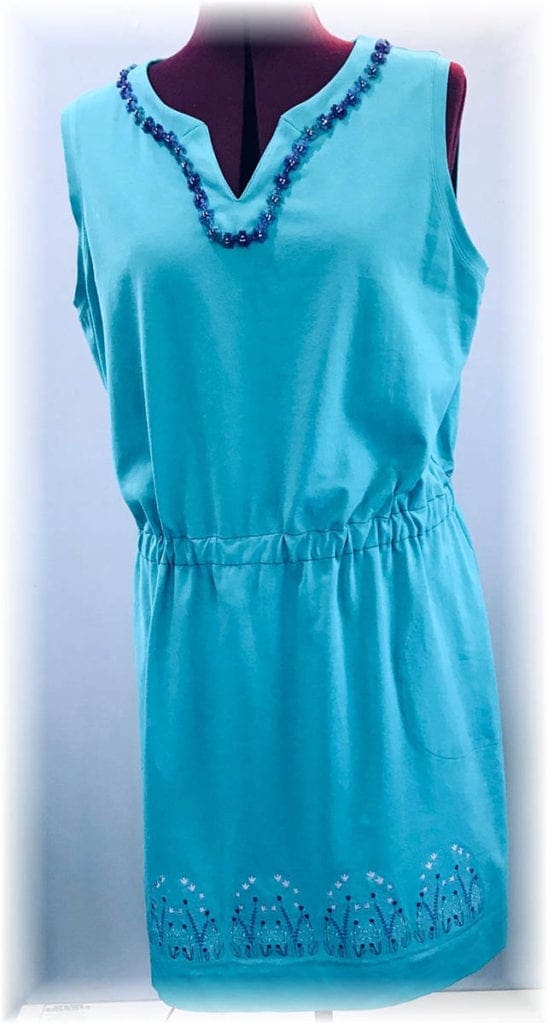
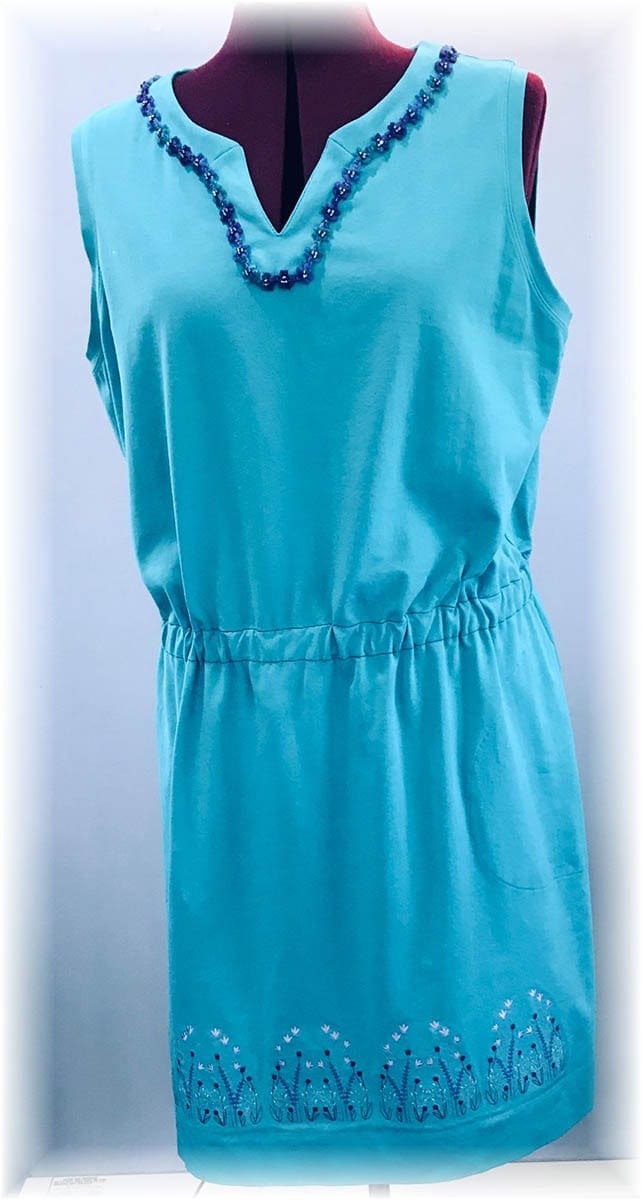
As you can see, with these simple steps it is easy to add an elastic waistband to an over sized dress! My recommendations are to pick a fabric that is close in color to your dress and use the tricot interfacing IF you will be wearing your transformed dress frequently. It will extend the life of your casing. Overtime, elastic will deteriorate so it’s advisable to buy the best quality elastic you can afford.
I realize that sometimes it is easier to follow a tutorial if you have a video. That’s why I’ve started The Creative Sewist Community YouTube Channel!! If you follow the link provided, you can watch the video as I take you thru the entire process. If you have any questions or concerns, please leave a comment and don’t forget to subscribe to the channel!! I’ll be uploading more helpful and exciting tutorials soon!
CHRISTINE WARREN
Sewing isn’t just my job, it’s my passion. I’ve enjoyed sewing and needle working since I was very young.




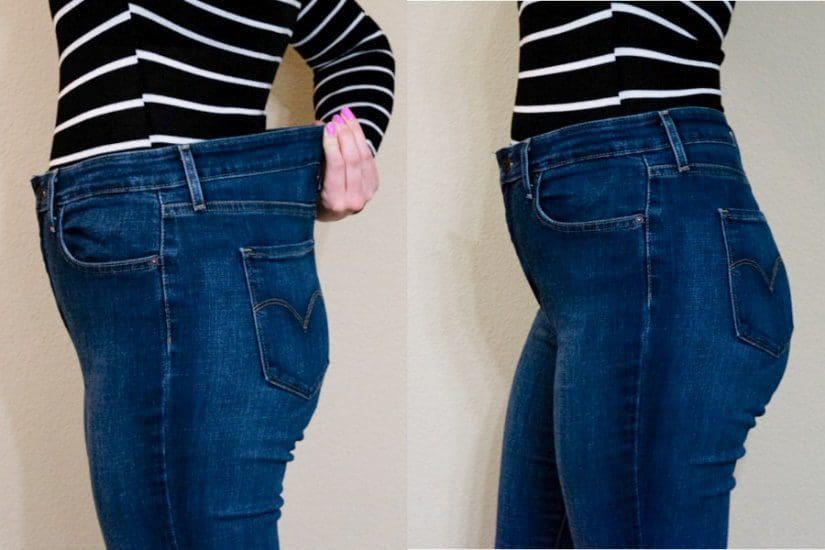


Thank ou for your help……I am 81 and have done garment sewing for over 50 years.
I have done some quilting since retirement.
I have purchased several nylon dresses without waist……but I want to add a little gathering.
Thank you again