No Sew Technique – Simple Trick How To Stop Scratchy Embroidery
No Sew Technique – Simple Trick How To Stop Scratchy Embroidery Quickly.
Do you Have Itchy/ Scratchy Embroidery? Learn how this simple, no sew technique quickly stops the scratch!
If you’ve ever worn a garment that was embellished with nylon or metallic threads, you probably have experienced the annoying and sometimes unbearable scratch of specialty threads against your skin. For many, the irritation and discomfort are deal breakers and sadly those beautiful garments become permanent fixtures in the back of a closet never to be worn again. In this sewing tutorial, we will learn how to use this simple, no sew technique to quickly stop the itch of your scratchy embroidery!
Sewing Tricks and Tips
Today, I’m sharing a simple, no sew technique that stops the dreaded skin scratching and irritation caused by specialty threads. By the end of this article, you will know how to repair your own scratchy clothes and comfortably start wearing those beautiful garments again in less than 10 minutes!
Sewing Tools Needed:
- Scissors (preferably sharp dress shears)
- Disappearing Ink marking pen or tailor’s chalk
- Iron
- Ironing board
- Cutting table
- Pressing cloth (optional)
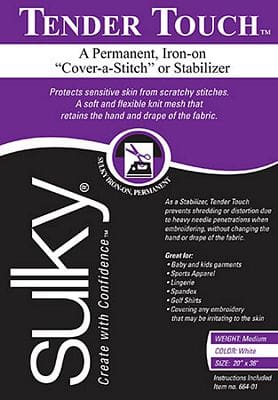
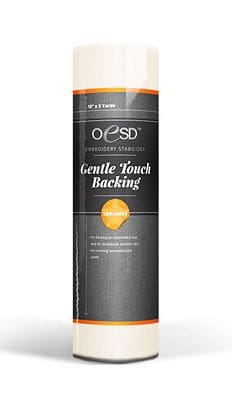
- Stitch Covering Backing/Stabilizer like Sulky Tender Touch™ or OESD Gentle Touch Backing™
Step one: Turn garment inside out and evaluate the problem areas
When the garment is inside out, it’s easier to see where those specialty threads are located. Lightly run your fingers over the design and feel for the scratchy embroidery. If the problem is only located in one area, you do not need to back the entire design. However, if you would feel more comfortable, you can certainly apply backing to the entire design. Leave garment turned inside out.
Step two: Cut an appropriate size of backing material that extends at least one-half inch larger than area
There are different sewing tools and products on the market for backing embroidery but two of the more popular ones are Tender Touch™ by Sulky™ and Gentle Touch Backing™ by OESD. Both are fusible webbings that can be cut to size and pressed on the back of embroidery. (For best results follow the manufacturer’s directions.)
For today’s sewing tip, I’m using Sulky’s Tender Touch™. This is a must have sewing tool for your sewing toolkit and I’ve used this product MANY times, and I’m happy with the results as it is very durable and withstands machine washings.
The easiest way to determine the required backing size is by laying one layer of the Tender Touch atop the design area and tracing the outline with a Disappearing Ink marking pen or tailor’s chalk. Make sure you have the WRONG side of the backing facing the WRONG side of the embroidery!
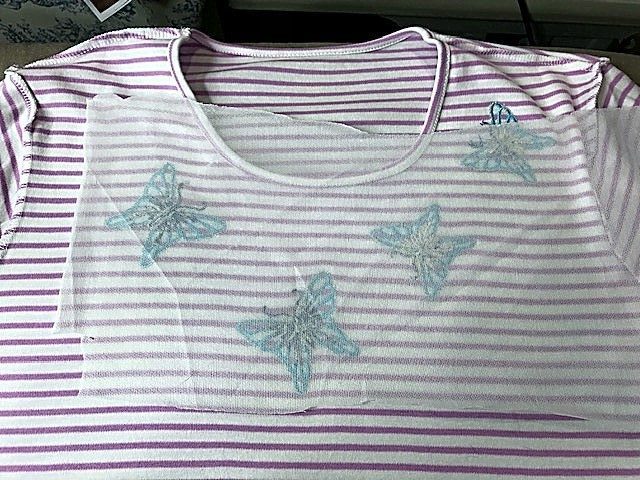
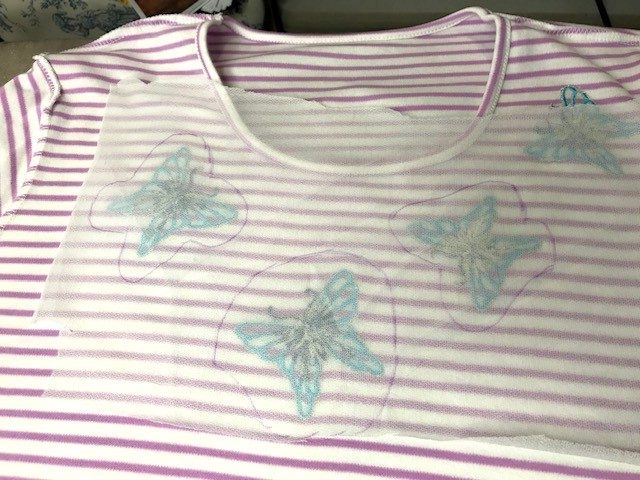
Pick up the backing and with a pair of sharp dress shears, cut out the patch from the backing. TIP: It’s easier to cut if you lay the backing flat on a hard surface preferably, a cutting board. Once you have your patch cut, take it and your garment to your ironing board.
Step 3: Fuse to Garment
Applying the product is very easy! At your ironing board, lay your garment flat, smooth out any wrinkles, and cover the scratchy embroidery area with the ‘bumpy’ side of the backing that contains the adhesive. Smooth out any wrinkles with your hands and check your backing placement. Adjust if necessary.
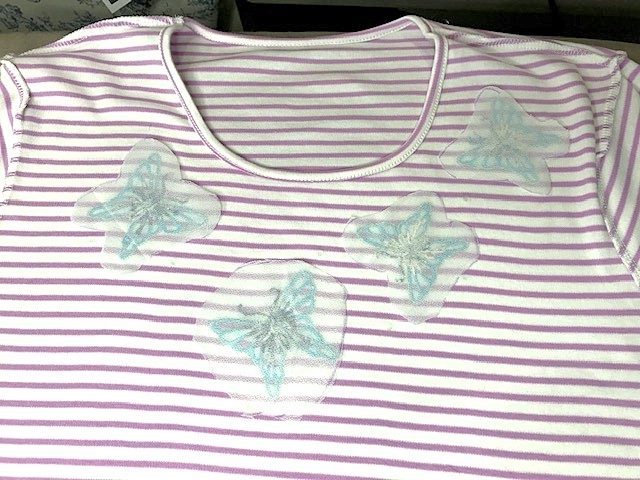
To Fuse: With a medium to medium/high heat setting, place your pre-heated iron on top of the backing starting in the center. Follow the manufacturer’s directions by applying even heat for 10-15 seconds and allowing the product to cool. Work your way out from the center until you have pressed the entire area. If the backing has not fully adhered to the fabric, repeat the heating process until it fully fuses to the fabric. TIP: If you are concerned about adhesive transferring to your iron plate, consider using a pressing cloth for this step!
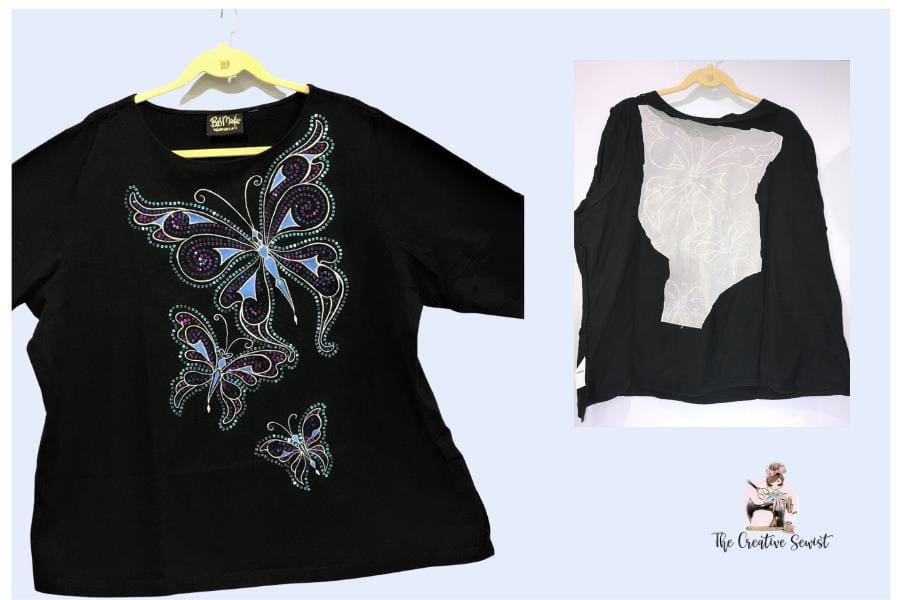
This Bob Mackie shirt has silver metallic thread, regular embroidery thread, and sequins that were attached with monofilament thread (ouch!). To resolve the skin irritation, I applied Tender Touch to the entire back. Now, the shirt is comfortable!
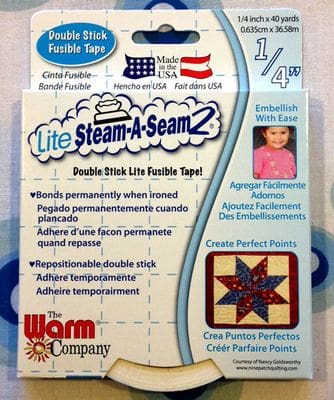
DISCLAIMER: It’s important to note that if you are backing a garment that is embellished with heat sensitive items such as sequin trim, it may be impossible to apply heat in the areas decorated with those trims since heat can damage them. Instead, I’ve used the following work around: cut a piece of backing to the desired size and fuse it to the non-sequin areas. If I’m concerned that it needs more fusing support around areas that cannot be heated, I’ve placed a small amount of Lite Steam-A-Seam 2 tape between the backing and the garment near the backing edges to keep it in place and permanently fuse it to my garment. This is a great solution for t-shirts!
Helpful Sewing Tips:
If one layer doesn’t fully resolve the scratch problem, add an additional layer of the backing. Some threads, like monofilament thread, are more difficult to tame with 1 layer of backing.
If you are unsure if something will work, test in a small, inconspicuous place before applying to the entire problem area.
If you are worried about adhesive transferring to your iron, use a press sheet. Just keep in mind that it may take longer press times to get the full fusion.
If you are more of a visual learner, please visit The Creative Sewist YouTube Channel and check out this video: https://youtu.be/RedNW7nhDYQ
I hope this information helps you when tackling your own scratchy embroidery sewing project dilemma! If you try this sewing tip, I’d love to hear from you in the comments below and if you found this valuable, please join The Creative Sewist email list before leaving. We don’t send spammy emails—just helpful sewing tutorials, tricks and tips!
CHRISTINE WARREN
Sewing isn’t just my job, it’s my passion. I’ve enjoyed sewing and needle working since I was very young.


