Create Dimension 5 Easy Ways On Any Sewing Project

If your sewing projects look flat and you aren’t sure how to create dimension, consider one (or more) of the following simple and easy techniques.
Create Dimension Technique 1: Add Embroidery

Embroidery is a very effective and versatile sewing technique that can enhance a sewing project design and add a lot of impact when used strategically. It’s also a terrific concealer if you make a mistake or discover a hole in your sewing project. Embroidery designs don’t have to be large like the “welcome” element in my banner. Sometimes a small, strategically placed grouping of theme appropriate designs have more impact than one large design.
If you use an embroidery editing program with digitizing features, you can adjust the type of stitches used on your design. For instance, the letters on my welcome banner were sewn with a basket weave effect that created an interesting, dimensional appearance.
Create Dimension Technique 2: Use an assortment of stitches

While many utility stitches have a specific purpose, it’s fun to use an assortment of stitches on a sewing project! When layering your stitches, select those that are theme appropriate and complimentary. For instance, try using a simple straight stitch for quilting and a blanket or satin stitch for applique elements on your design. It is simple, but very effective. The subtle stitch differences create a simple and effective layer of dimension.
When you break up the monotony, your design appears more interesting and livelier.
Not sure using different stitches work? Imagine touring a new home that is painted with only one color. For many people, that would be considered boring and not interesting. Now imagine touring that same home after an artist painted the crown molding and base boards a fun pop of color and added focal elements on a few key walls. It may seem insignificant, but using a combination of stitches really does create dimension!
Create Dimension Technique 3: Applique parts of your design

Applique is one of the oldest and most popular sewing techniques. While there are different techniques for creating applique (machine sewn vs. hand sewn), it’s impact on an overall design cannot be ignored. Applique not only enhances the overall design but adds layer and texture that may not otherwise be achieved. Like other sewing techniques, it’s best to determine how much applique is needed to enhance your project. In most situations, a nominal amount is necessary.
Not sure how to create machine applique? Check out this sewing tutorial.
Create Dimension Technique 4: Layer in free-standing lace

Free-standing lace (FSL) is a staple in bridal and formal apparel sewing, but did you know it can be used on less formal sewing and home dec projects? From FSL designs that can be hooped and hung on the wall to 3 dimensional designs like votive holders and seasonal decorations, embroidery design artists are constantly releasing new and interesting designs.
Many years ago, I bought a beautiful floral design pack. I wanted to use the designs for a dress, but at the last minute, I changed my mind. With several elements already made, I struggled with what I should do with them. Thankfully, the lavender color thread coordinated beautifully with a fabric I had and inspired a spring welcome banner. When accenting my banner, I opted to only sew the center of the butterflies so that they appeared to be resting on the branches.
Create Dimension Technique 5: Selectively accent key elements with beads and rhinestones

Sometimes a subtle accent of a few rhinestones or beads can create an amazing dimensional look. For instance, instead of adding French knots or candle wicking stitches on the center of lilies, you could use small colorful seed beads or rhinestones. Beads capture and reflect light beautifully. They also add dimension and texture. More importantly, they highlight a specific design element without drawing a circle around it and writing “look here!”
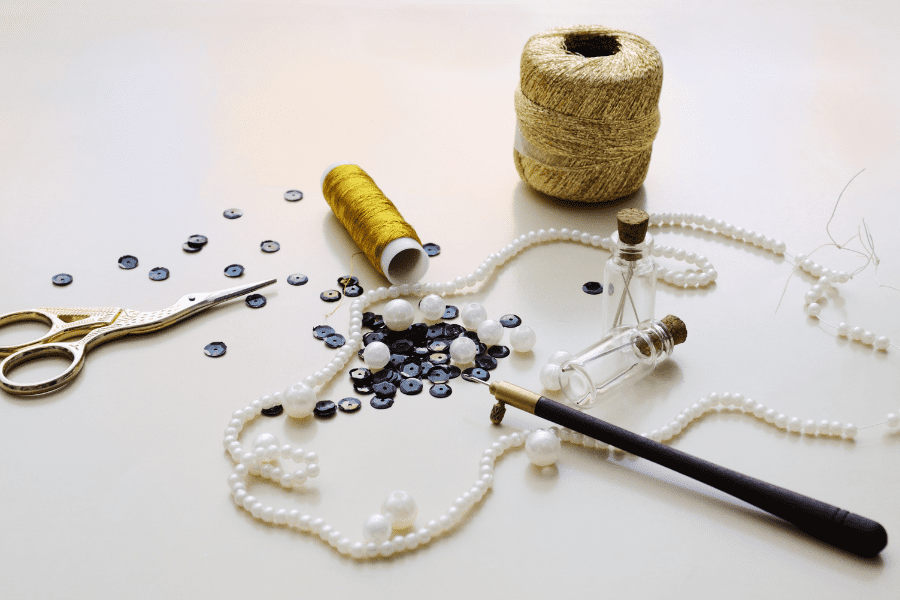
When sewing beads, make sure to use the appropriate thread for your project and secure each bead. Chainstitching beads is never recommended as the underside threads can be accidentally cut or pulled. Also, if you prefer to glue rhinestones, make sure to use the most appropriate glue for your sewing project.
Some glues are meant for fabrics, while others are better suited for leather, glass, or metal surfaces. It’s best to apply a small amount of glue to the back of the rhinestone before pressing it on your fabric. Use only enough glue to cover 75% of the back of the stone. This way, when you press the stone on your fabric, most of the glue should stay under the stone and not squeeze out along the sides.
Hopefully these simple yet very effective layering techniques will help add dimension to your next sewing project! If so, please consider sharing it on social media and with your sewing friends. If you have a question, please leave it in the comments below.
Please note: This article does contain affiliate links.
We are a participant in the Amazon Services LLC Associates Program and its affiliate advertising programs which are designed to provide a means for us to earn fees by linking to Amazon.com and its affiliated sites.
There is no additional cost to you when you make a purchase through any of my affiliate links. Please consider supporting this blog.
CHRISTINE WARREN
Sewing isn’t just my job, it’s my passion. I’ve enjoyed sewing and needle working since I was very young.

