Creative Solution For Torn Pants
A creative Repair (and embellishment) for damaged clothing with an embroidered applique
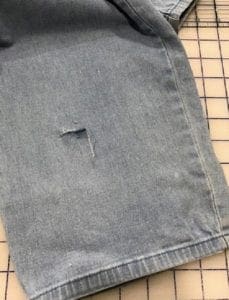 A few weeks ago, my mom showed me her new stretch denim capris. She was NOT happy since she accidentally ripped her pants when a lawn tool fell on her in the garage. Thankfully she was not hurt, but the pants had a large cut in them on the lower front of the right pant leg.
“can you fix them so I can wear them around the house?” she asked.
“Certainly. I can do something so you can wear them and not worry if they look good or not.”
The cut was large and angled, so it was challenging to find a solution. I looked for an embroidery design that would cover the strangely shaped hole but look good. I discovered and purchased a gecko design since I felt that this particular shape would work best. Unfortunately, I could not hoop the pant leg with any of my embroidery hoops so I needed a solution. The answer: create a free-standing applique.
 To start, I steamed out the pant leg.
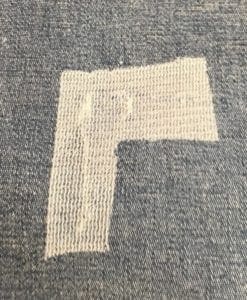
I then turned the pants inside out, trimmed away excess threads or nubs around the sliced area. I placed a small piece of fusi-knit on the slit and pressed it on the fabric.
Once the fabric cooled, I turned the pants right side out and using a tight zig zag stitch, I sewed across the sliced area. I didn’t want a satin stitch—just something that would hold the fabric together.
Since my cut was so oddly shaped, I decided to make an embroidery applique so I could place it exactly over the area.
Using OESD Badgemaster, a wash away, tear away stabilizer, I embroidered my design.
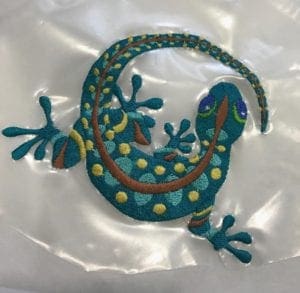 After the embroidery was finished, I carefully removed the excess stabilizer from the design. I then applied a layer of Steam a Seam 2 lightweight fusible to the back of the embroidery. Again, I removed the excess SAS and placed the Gecko exactly where I needed him on the pants.
Next, I steamed the design in place. Turn the pants inside out and iron a layer of removable tear away stabilizer to the back.
Turn pants right side out. Using a semi-tight zig zag stitch, I sewed around the outside of the design to permanently attach it to the pants.
Once completed, I removed the tear away stabilizer and gave the pants a final steaming.
Now, they are better than new and my mom thinks they are too good to wear around the house.
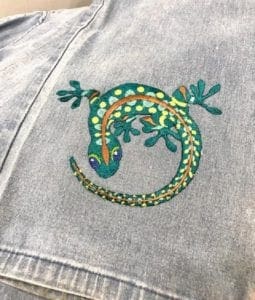 Mission accomplished!
Tips: If you decide to make an embroidered applique, select a design that is solid. Designs with a lot of open areas won’t work well for this technique. Why I selected this method: embroidering directly on the pants wouldn’t work. I needed to think outside the box on this project.
CHRISTINE WARREN
Sewing isn’t just my job, it’s my passion. I’ve enjoyed sewing and needle working since I was very young.


