Sewing Marking Tools – 8 Amazing Tools Every Sewist Should Know
Sewing Marking Tools are an essential part of any sewing toolkit. Almost every sewing pattern has markings on it that need to be transferred to the fabric after you cut it out and before you can start your sewing project.
These marks help you to put the garment together correctly and make sure everything will match up and sew together perfectly. Usually, they will be circles to mark specific points or lines to indicate where to stitch for darts, pockets, plackets, and more.
There are many different options for marking tools – below, we will go through eight of the best marking tools for sewing and how to use each one.
8 Amazing Sewing Marking Tools for your Sewing Toolkit
Tailor’s Chalk Marking Tool
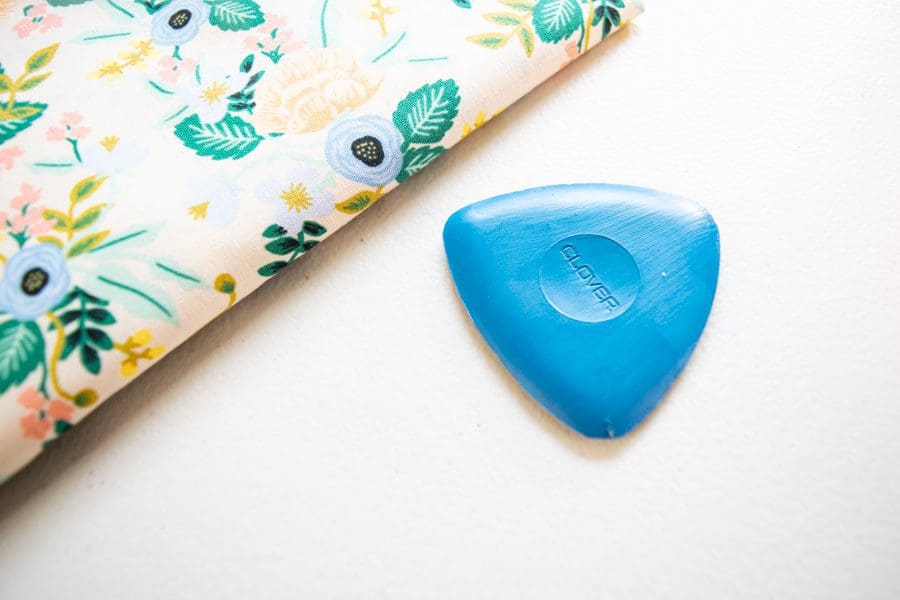
First up we have a classic sewing marking tool – tailor’s chalk. This is one of the most used marking tools and is a very inexpensive option that is easy to use.
Tailor’s chalk is simply compact chalk with sharpened edges, usually formed into a triangular shape. To use it, just run the edge of the chalk on the surface of the fabric to draw a nice fine line wherever you need to mark.
Once you finish your project, tailor’s chalk can either be brushed off the fabric or your project can be thrown into the wash to remove it.
Chalk Pencil Marking Tool
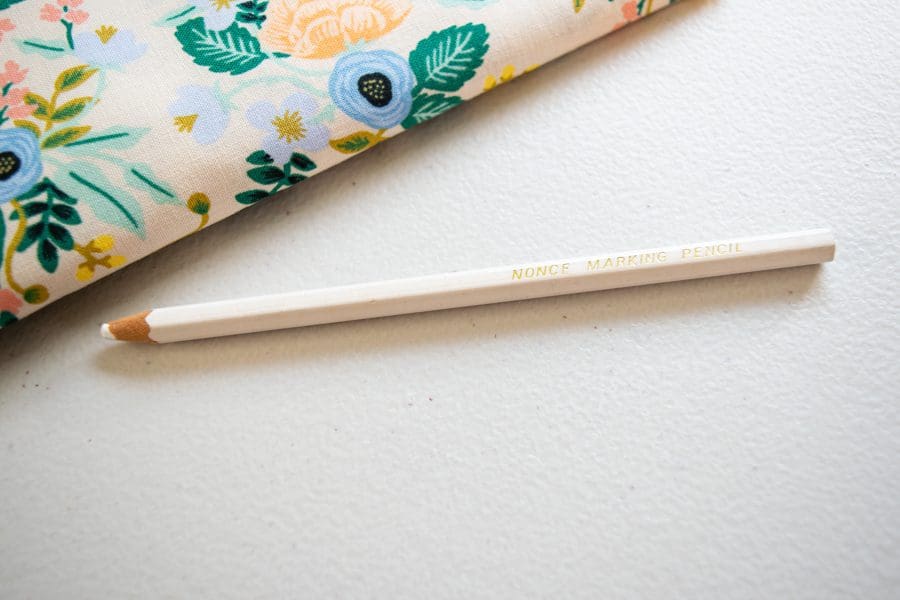
A chalk pencil is a great alternative to tailor’s chalk – it is a pencil that is made with chalk in the center instead of graphite. The benefit over tailor’s chalk is that you will not get chalk on your hands because it is enclosed inside the pencil.
To use your chalk pencil, simply draw on your fabric as you would with a regular pencil. It will come out in the wash when you are done just like tailor’s chalk would.
Disappearing Ink Pen Marking Tool
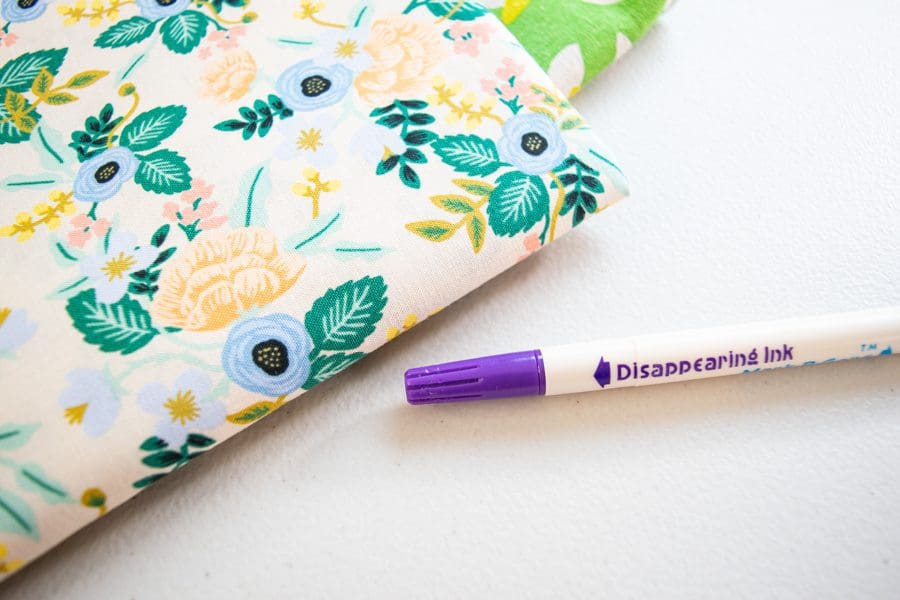
If chalk just is not your jam, you may like a disappearing ink pen! This type of pen has special water-soluble ink, making it nonpermanent.
When you need to remove your markings from your sewing project, just wipe them away with a damp cloth. This type of ink will also disappear on its own after 2 or 3 days, so do not worry if you forget to wash your marks off!
The downside to disappearing ink pen is that the ink is purple, which limits the fabric colors it will show up on. It works best for light-colored fabrics and is hard to see on dark colors.
Heat-removable Pen Marking Tool
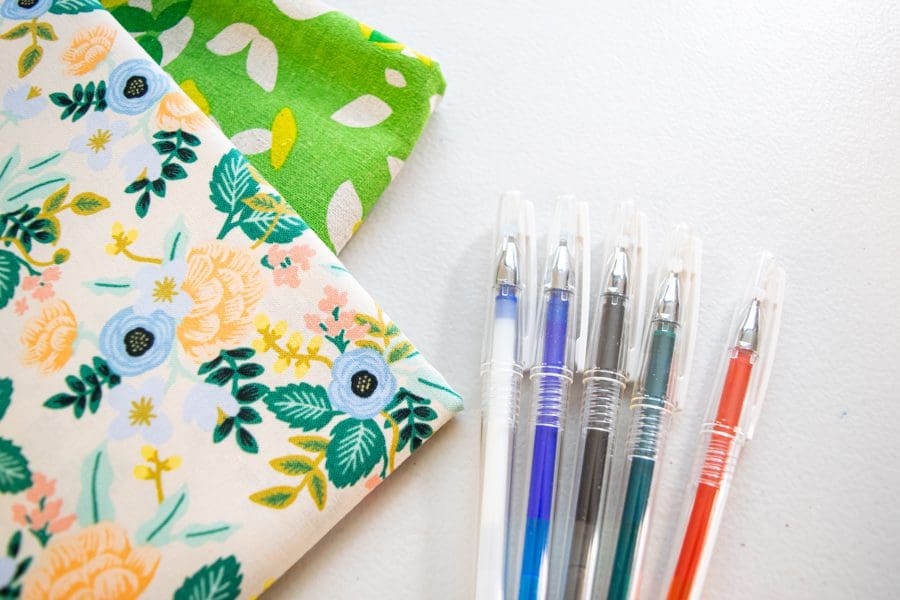
Another awesome marking tool for sewing is heat-removable pens. They look just like regular gel pens, but the ink disappears when exposed to heat.
To use these pens, just draw in your markings on the fabric like you would with any regular pen. Then, when the markings need to be removed, simply go over them with your iron and they will fade away!
The one issue with heat-removable pens is that the pen marks can reappear when exposed to very cold temperatures for an extended period of time. So, I would avoid using them on heavy winter coats!
Crease-marking Tool
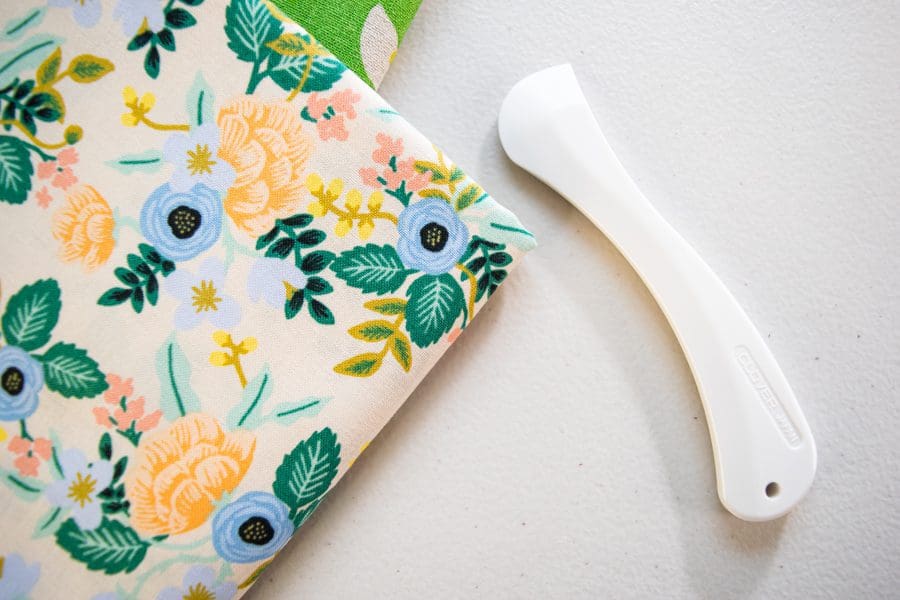
Now if you have a very special fabric you are working with and want to avoid putting any residue on your project, try a crease marking tool.
This tool has a pointed edge on it that you can firmly run across your fabric to form a visible crease that stays in place even after you put the tool away.
It is especially great for marking hems – you can run the tool along where your hem needs to fold up, then you will be left with a nice crease to fold your hem along.
Tracing Wheel and Carbon Paper Marking Tools
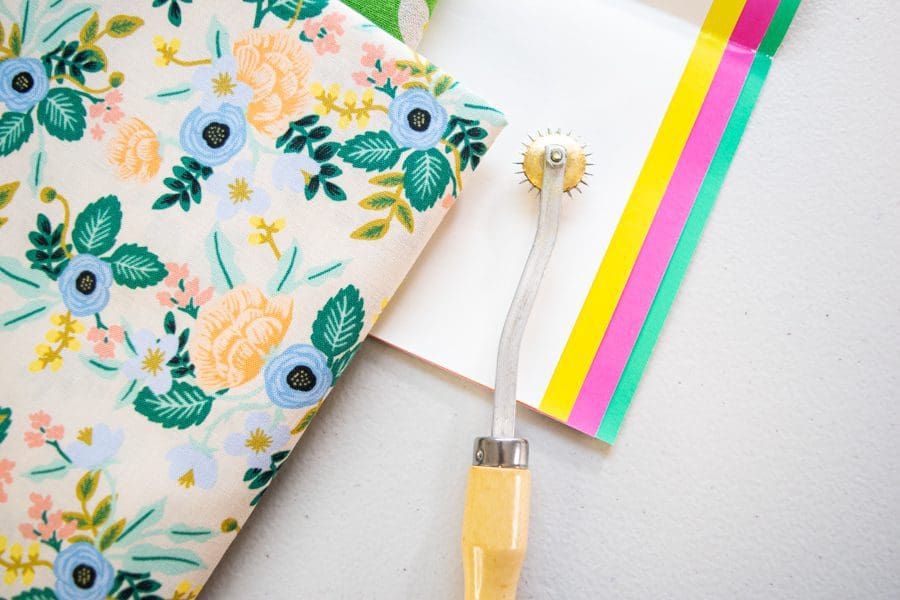
Here is a marking tool for sewing that is a little more complicated, but that can really up your sewing game: a tracing wheel and carbon paper. Just make sure that you get carbon paper made for marking fabric, it is different from the kind you would use for paper or wood. You can also find a range of colors, so choose carbon paper in a color that will show up on your fabric.
To use it, lay the carbon paper colored side down on the fabric, place your pattern on top of it, then trace your markings (or the entire pattern) with the wheel. This will transfer little dots of color to your fabric all along where you traced.
To remove the markings, just throw your finished project in the wash!
Soap Marking Tool For Sewing
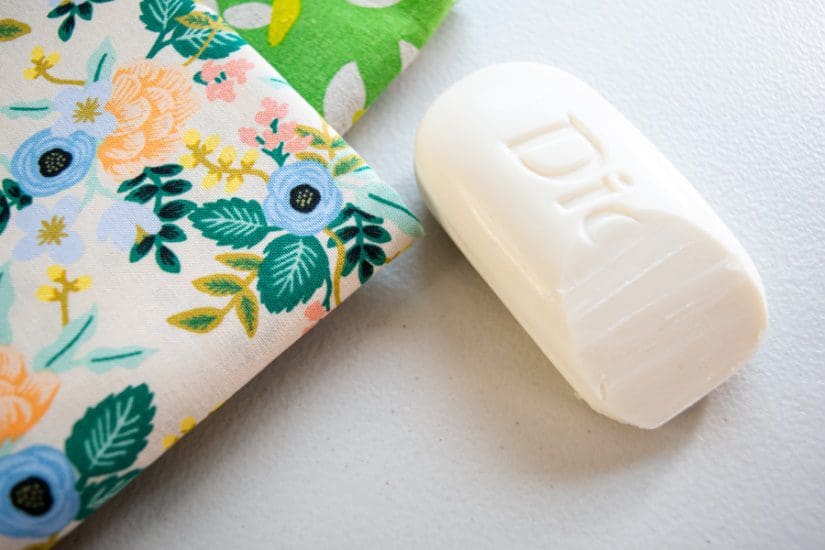
If you are not ready to invest in a specific marking tool for sewing, but still want to start some projects, try a bar of soap!
First, sharpen one edge of the soap with a knife so that you can get a somewhat compact line. Then, draw on your fabric with the sharpened soap edge. It will leave a white residue that is easy to see on dark fabrics. Unfortunately, this method will not work well for light-colored fabrics.
As you may have guessed, to remove the soap marks, just toss it in the washing machine!
Regular Pen Marking Tool
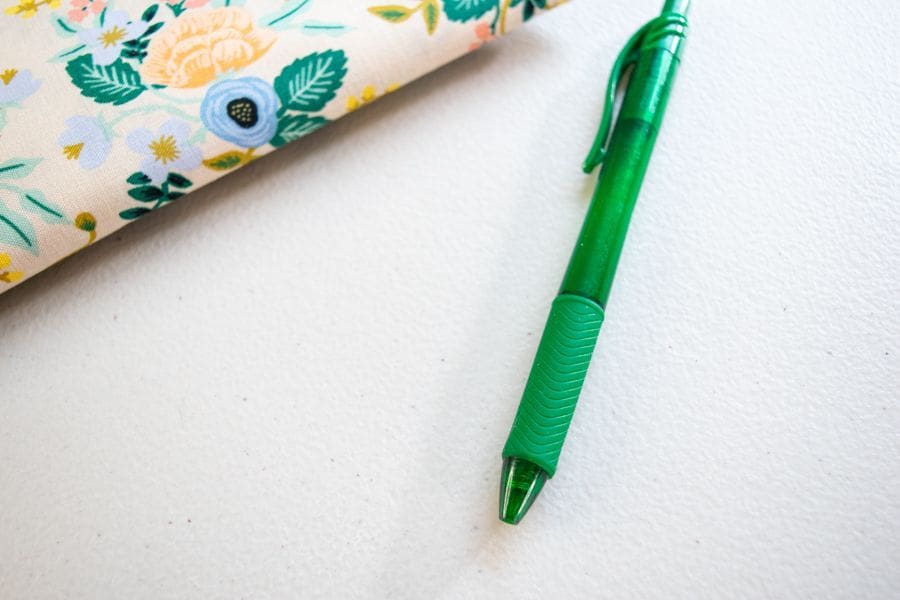
Finally, if you are really in a pinch, you can use a regular pen marking tool for sewing. However, there is a big caveat to this – you will want to make sure that you only mark on the wrong side of the fabric or in the seam allowances.
Regular pen will not come out of your project, so it is important to make sure it won’t be visible on the outside of your finished garment.
CHRISTINE WARREN
Sewing isn’t just my job, it’s my passion. I’ve enjoyed sewing and needle working since I was very young.


