Sewing Tricks & Tips – Top 3 You Will Use in Every Sewing Project
Sewing Tricks & Tips – Top 3 You Will Use in Every Sewing Project
There are so many sewing tips and tricks out there to help you save time and hassle through the sewing process. These top three sewing tricks and tips are major frustration-savers that make sewing projects easier, so you can enjoy your time in the sewing room even more.
Sewing Trick #1 – Use pattern weights and a rotary cutter to cut out your projects
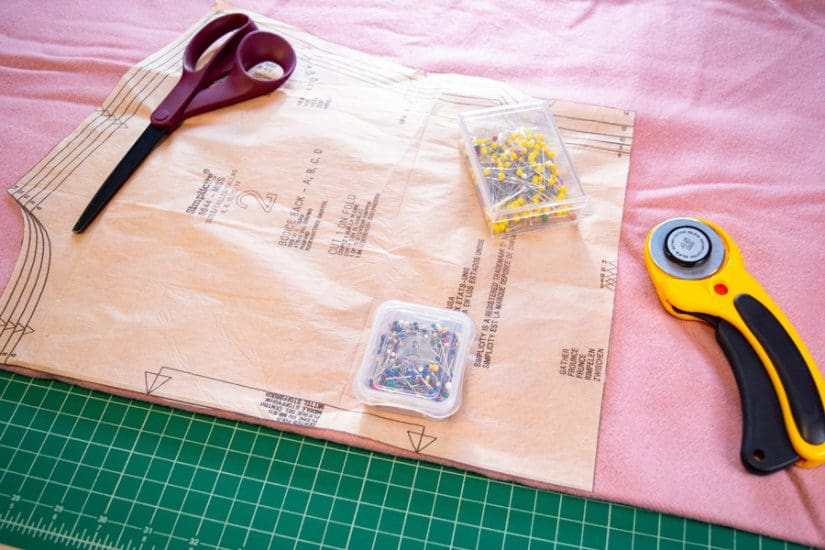
Getting a rotary cutter and cutting mat was a major game-changer in my sewing journey. Cutting projects out with scissors requires carefully and painstakingly pinning each pattern piece to the fabric before breaking out the scissors and cutting around each piece – the process takes ages!
With a rotary cutter, cutting out your project will be much faster, plus it’s just easier than using scissors. To use a rotary cutter, lay your fabric out on your cutting mat. Next, place your pattern pieces onto the fabric. Weigh each piece down with pattern weights to make sure they won’t move – you can get dedicated pattern weights from your favorite craft store, or just use items you have around your sewing room or house (cell phone, pincushions, scissors, etc.). With the pattern pieces weighed down, all you need to do is cut around each piece with the rotary cutter. It’s simple and quick!
Sewing Trick #2 – Use tape as a seam guide on your sewing machine
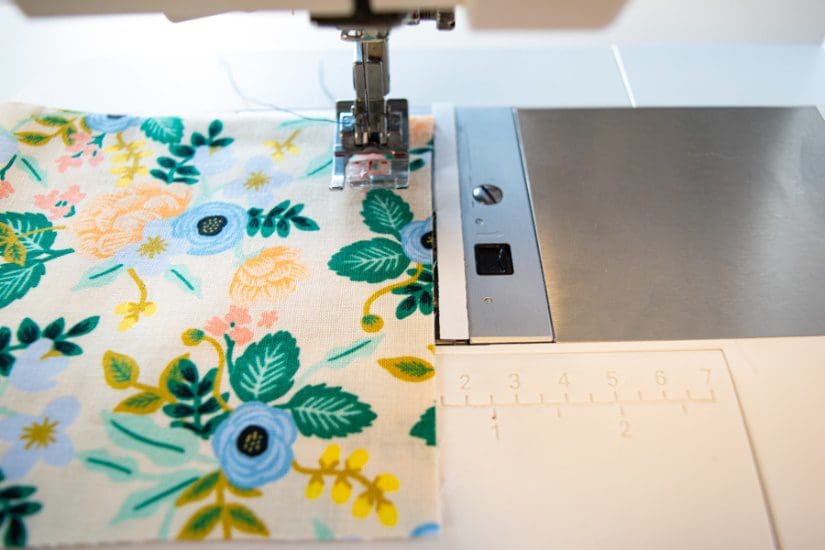
Most sewing machines have a full range of different seam allowance markings on the metal throat plate to help you line up the edge of your fabric while sewing. But those engraved markings are faint and can be difficult to see and keep track of.
So, when you start a new project, check what the seam allowance of that project is first. Then mark that seam allowance on your sewing machine’s throat plate with tape, lining up the edge of the tape with the appropriate seam allowance line. Washi tape is great for this purpose since you want a tape that is easy to see, thin, strong, yet easy to remove when you’re done sewing.
With tape marking your seam allowance it’s easy to line up the fabric with the edge of the tape, helping you to get beautifully straight and even seams.
Sewing Trick #3 – Trace your sewing patterns to save the original
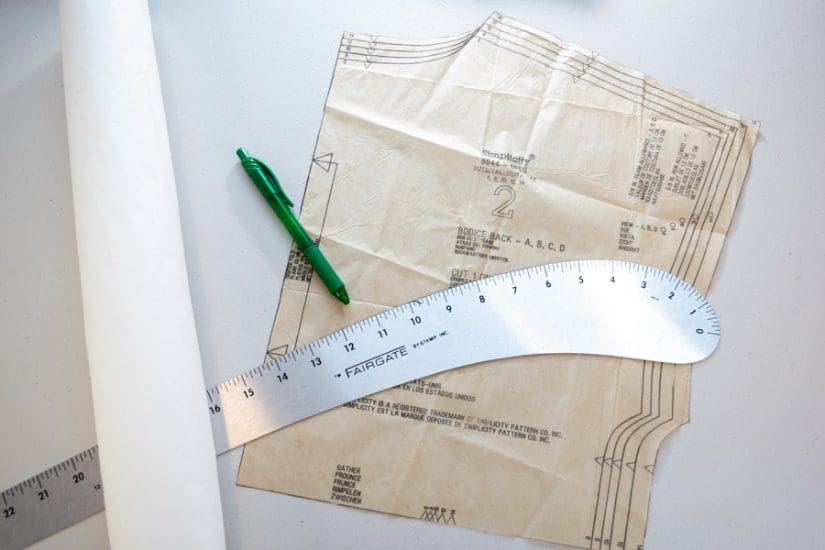
The final sewing trick we have for you today is something many sewists like to avoid because it adds time to your sewing process – and that is tracing your sewing patterns before cutting your sewing project. Tracing your patterns may feel like a bit of a hassle, but it will save you time and frustration in the long term because you’ll always have the original pattern to go back to.
This is especially useful when you make alterations to a pattern or hack the original pattern to add new design elements. If you alter your pattern without tracing it first, then decide you want to go back to the original, you’ll need to either repurchase the pattern (if it was a paper pattern) or reprint and assemble it (if it was a PDF pattern). Also, if your weight tends to fluctuate, it’s great to save the original so you can trace off whatever size you need each time you sew up the pattern.
Tracing is easy when you use a see-through paper such as exam room paper to trace onto. Simply place the exam room paper on top of your pattern and trace the pattern pieces onto it with a pen or pencil. Once you finish tracing, just smooth out any rough lines or curves with a ruler or french curve sewing tool.
And now, we’d like to hear from you. What are your top three sewing tricks and tips? Let us know in the comments below. If you haven’t already signed up for The Creative Sewist Newsletter, please consider subscribing.
CHRISTINE WARREN
Sewing isn’t just my job, it’s my passion. I’ve enjoyed sewing and needle working since I was very young.


